Customize Syskit Point Appearance
Make your Syskit Point feel unique by using your company's brand guidelines. There are several things you can change to customize how your Syskit Point looks.
In this article, we will cover the following customizations.
Please note: the changes you make to the logo, banner, and colors are a company-wide setting. It is visible to all users within your company who utilize Syskit Point.
Dark Mode (Beta) is a per-user setting, meaning that its state is saved for each user separately and is not applied company-wide.
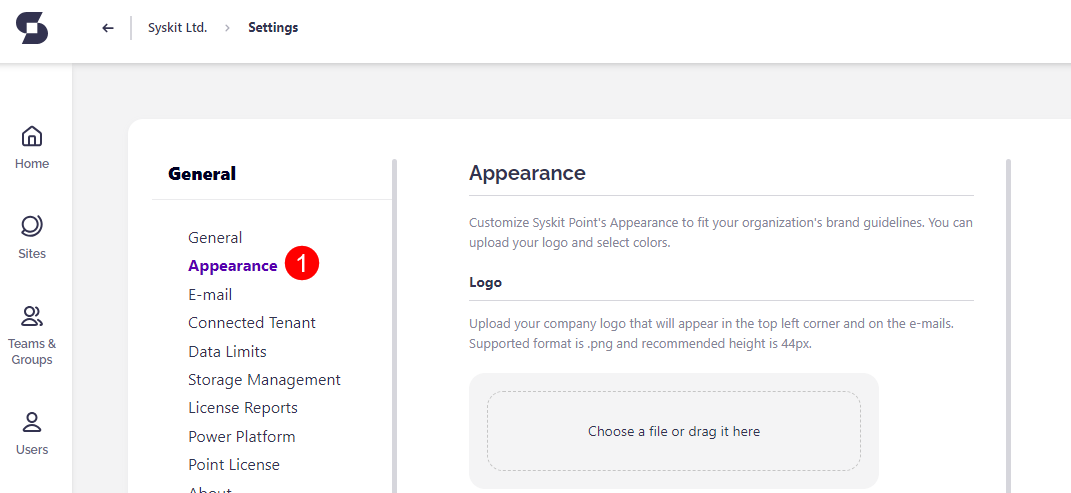
To change the look of your Syskit Point, first go to Settings > General and click the Appearance button (1) on the left side of the screen.
Logo
On the Appearance screen, the first thing you can customize is the logo (1).
Uploading your company logo changes the icon in the top left corner from the default Syskit one to your new company logo. The supported format for the logo is .png, and the recommended height of the image is 44px.
To add your company logo, drag the file into the designated space or choose a file to upload (2).
![]()
Once your logo is selected, you can:
- Choose to Upload New Logo (1) if you want to try a different one.
- Remove (2) the uploaded logo completely.
- Click Save (3) to store the settings if you are satisfied with your changes.
![]()
Please note, this change to the logo is also applied to e-mails sent out. If you want to use a different logo for your e-mails, take a look at the Customize E-mails article for details on how to do so.
Banner
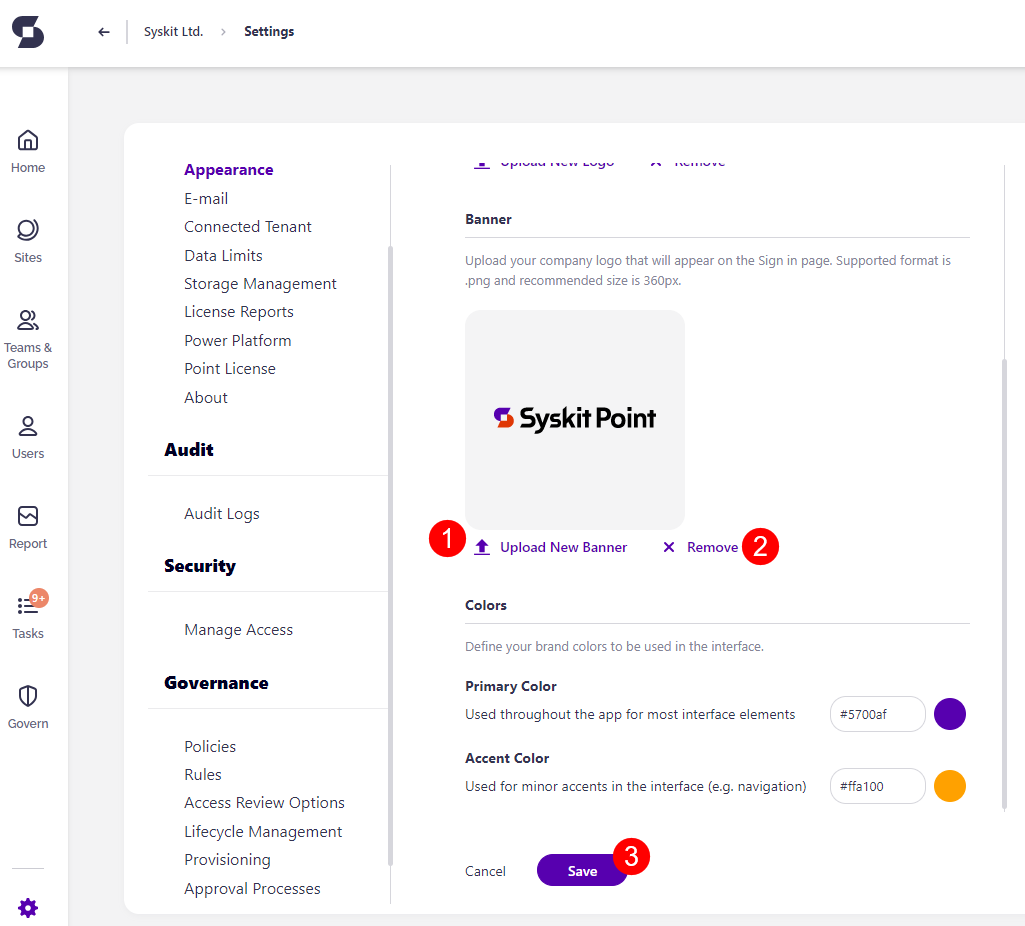
Next, you can customize the banner (1) that appears on the Sign in page of Syskit Point.
The supported format for the banner is .png, and the recommended height of the image is 360px.
To add your company banner, drag the file into the designated space or choose a file to upload (2).

Once your banner is selected, you can:
- Choose to Upload New Banner (1) if you want to try a different one.
- Remove (2) the uploaded banner completely.
- Click Save (3) to store the settings if you are satisfied with your changes.
Please note, this action only changes the banner on the Sign in page of Syskit Point. To add a custom banner for e-mails, please take a look at the Customize E-mails article.
Colors
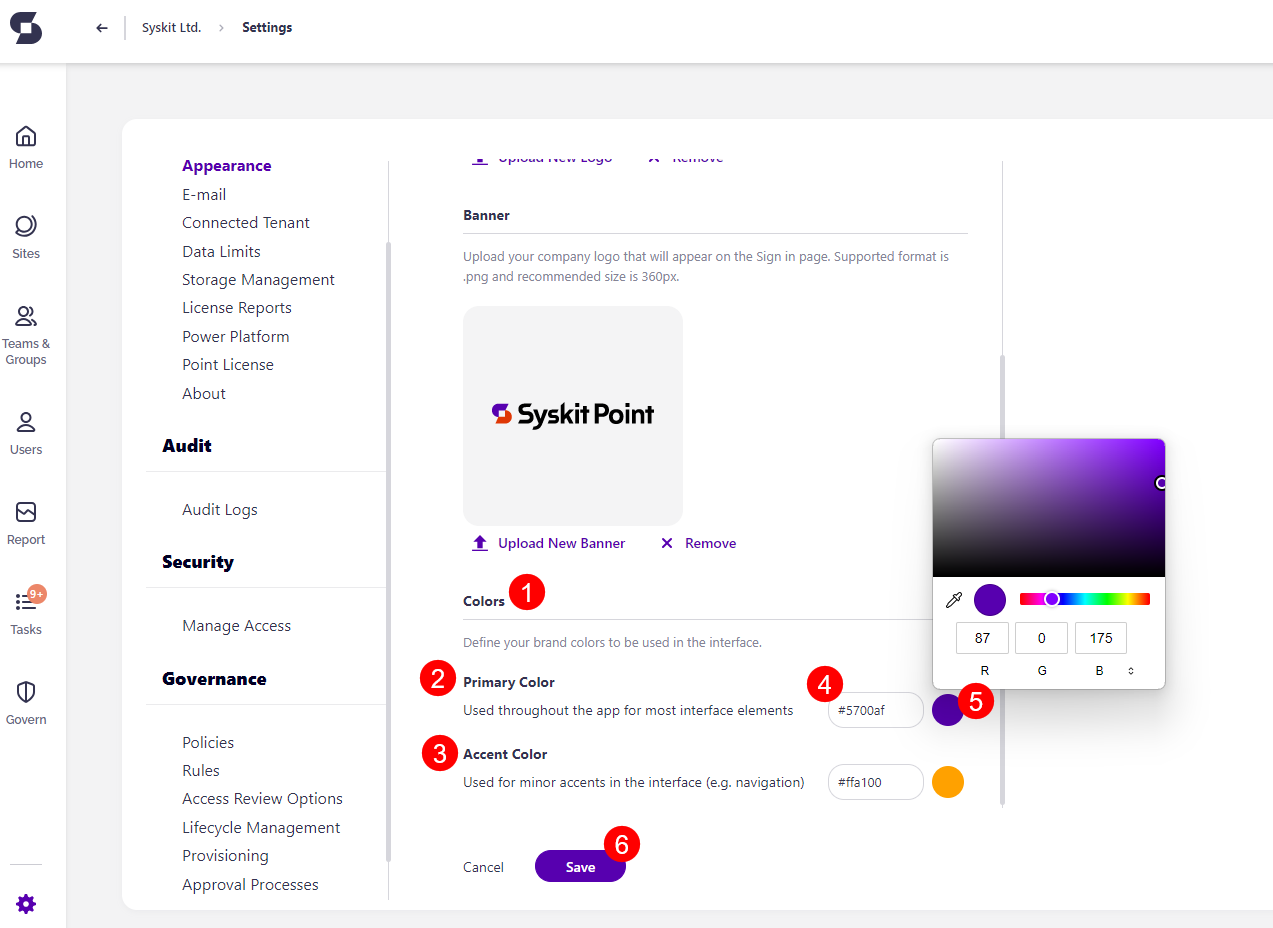
Finally, you can also define and utilize your brand colors (1). The colors you select are used in the interface of Syskit Point.
First, select your Primary Color (2). This color is used throughout Syskit Point for most interface elements.
Second, you can choose your preferred Accent Color (3). This color is used for minor accents in the interface, such as the navigation.
To select your colors:
- Enter the HEX code for your selected color (4), or alternatively
- Select your color shade from the color picker (5)
- Click Save (6) to store the settings if you are satisfied with your changes.
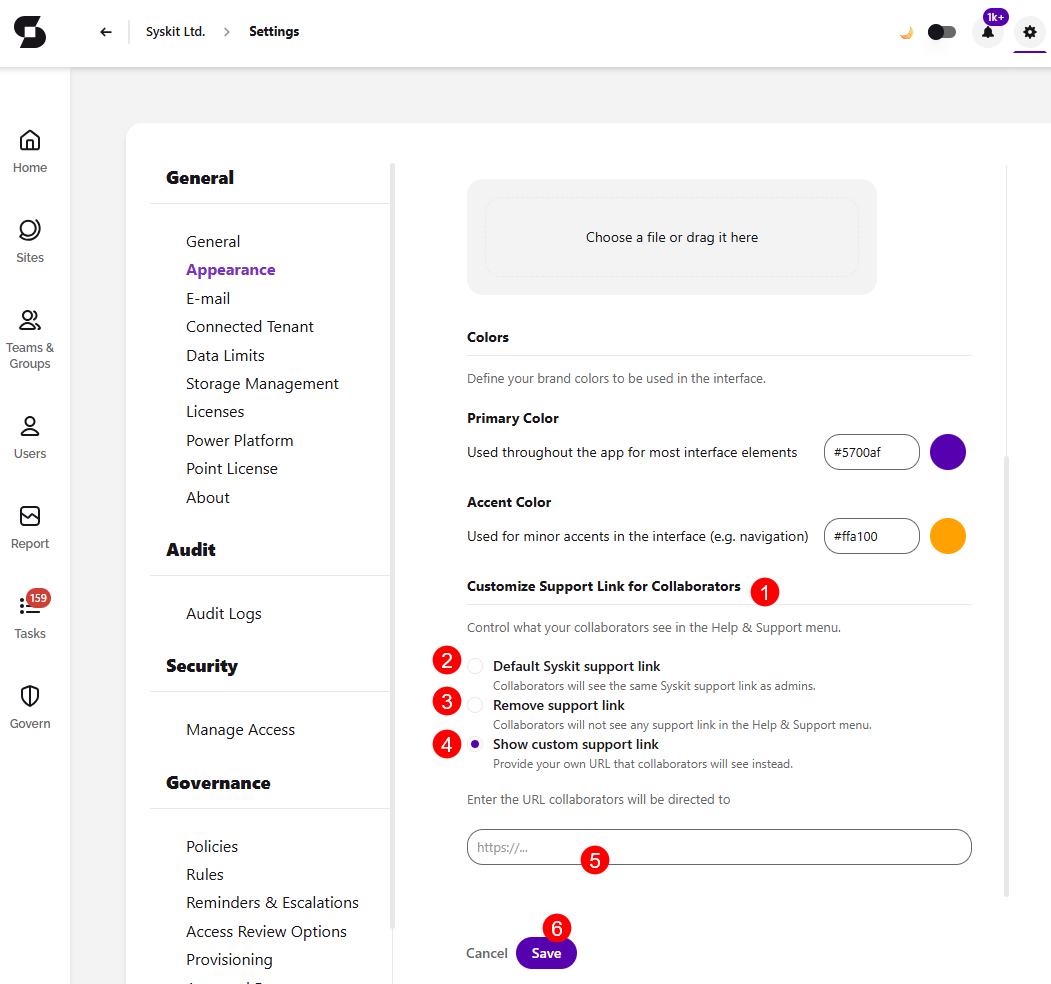
Support Link
You can also control what collaborators see in the Help & Support menu of Syskit Point. By default, collaborators see the same Syskit support link as admins, but you can change or remove it entirely.
Please note: This setting only affects collaborators. Admins still see the default Syskit support link in the Help & Support menu, regardless of this configuration.
To customize the support link, navigate to the Customize Support Link for Collaborators (1) section on the Appearance screen.
The following options are available:
- Default Syskit support link (2) - collaborators see the same Syskit support link as admins. This is the default setting.
- Remove support link (3) - collaborators do not see any support link in the Help & Support menu.
- Show custom support link (4) - lets you provide your own URL that collaborators will see instead of the default Syskit link.
- If you select Show custom support link, an additional field appears where you can enter your custom URL (5).
Once you have selected your preferred option, click Save (6) to store the settings.
Dark Mode
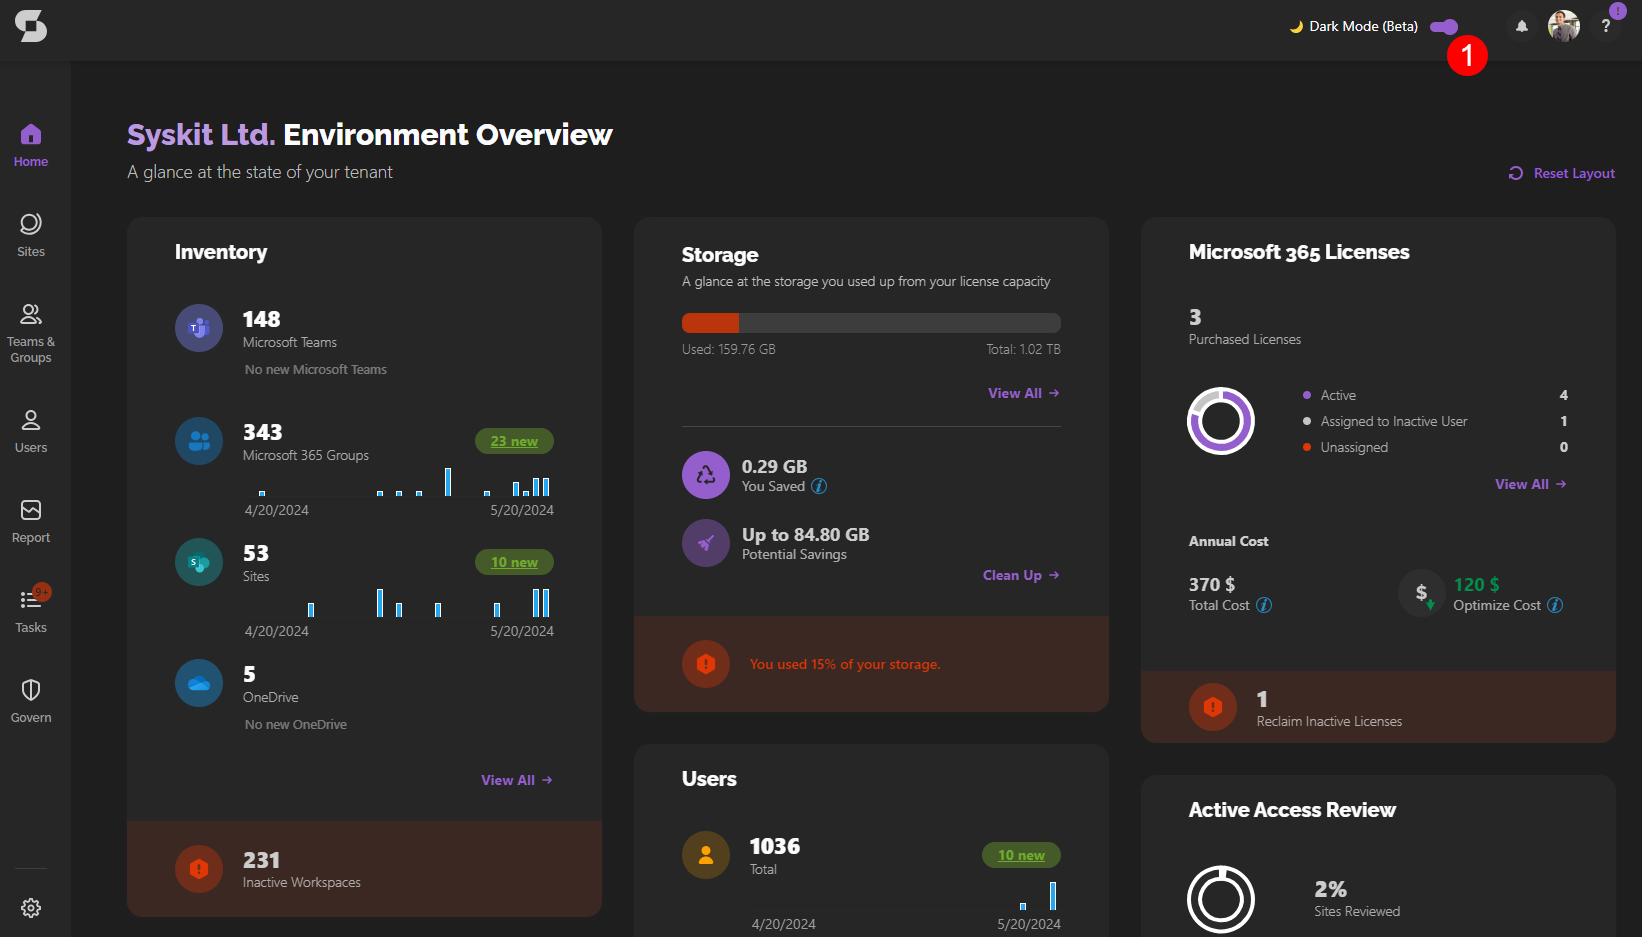
Another thing you can change when it comes to the look and feel of your Syskit Point is the new Dark Mode (Beta) (1) feature.
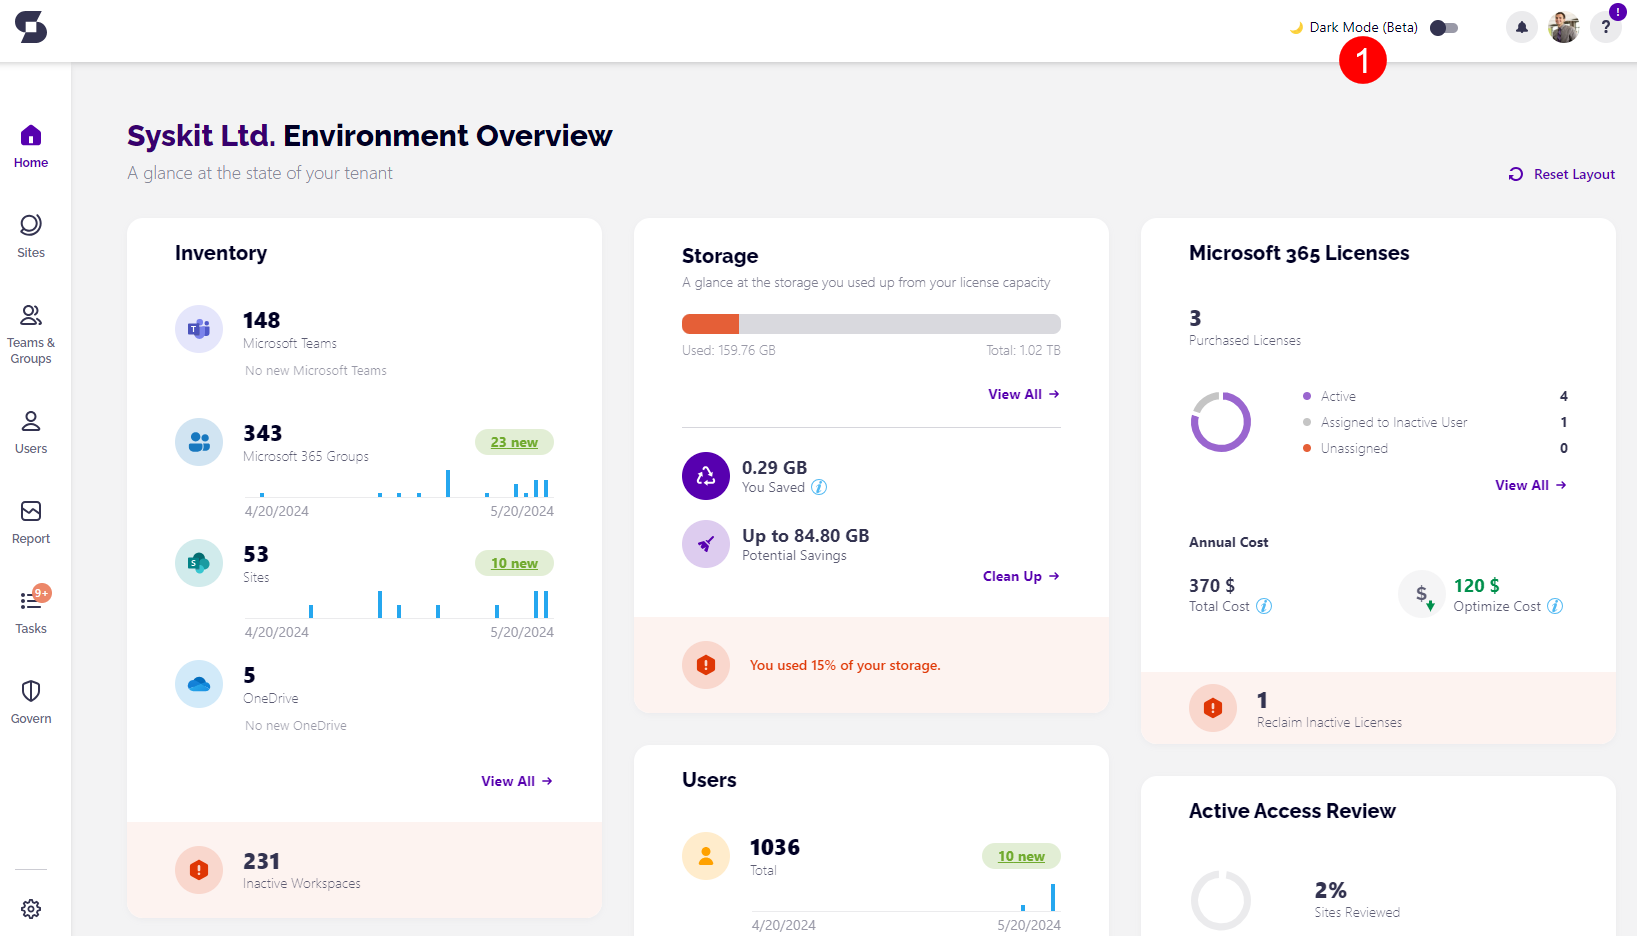
To turn Dark Mode on, simply click the toggle (1). The color scheme should change from a white background to a darker one.