Manage Sensitivity Labels
warning
Please note!
To use sensitivity labels, a service account needs to be connected to Syskit Point. For details on how to set up sensitivity labels, take a look at the Enable Sensitivity Labels article.
Once set up, Syskit Point admins and workspace owners can apply or remove sensitivity labels from workspaces.
These changes can be made on the Sites Overview and Microsoft Teams & Groups Overview screens.
Complete the following steps to manage your sensitivity labels:
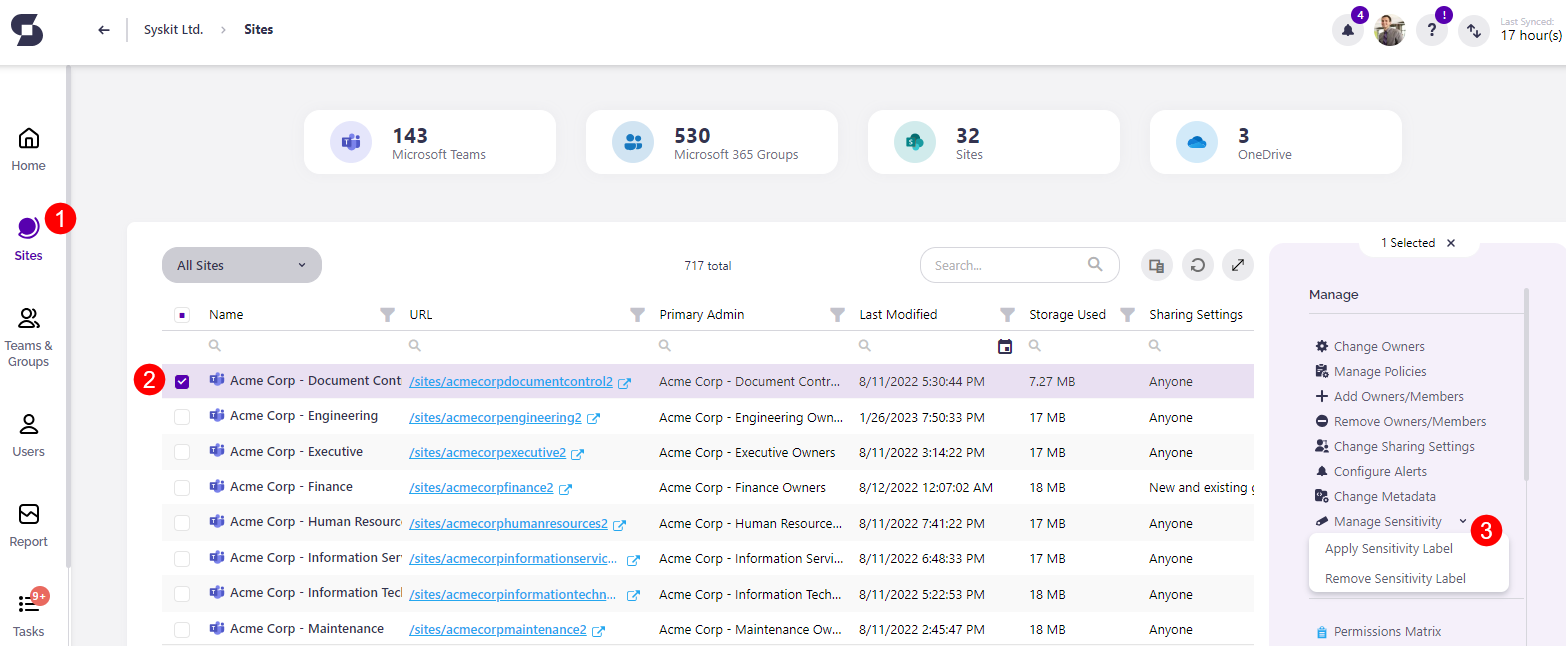
- Click the Sites button (1) located on the left side of the Syskit Point screen.
- You can also do this by clicking the Teams & Groups button, but in this example, we will use Sites.
- Select one or more workspaces (2) for which you want to change the sensitivity label.
- Click the arrow next to the Manage Sensitivity button (3) to see your options, located on the right side of the screen.
- Apply Sensitivity Label and Remove Sensitivity Label actions appear.
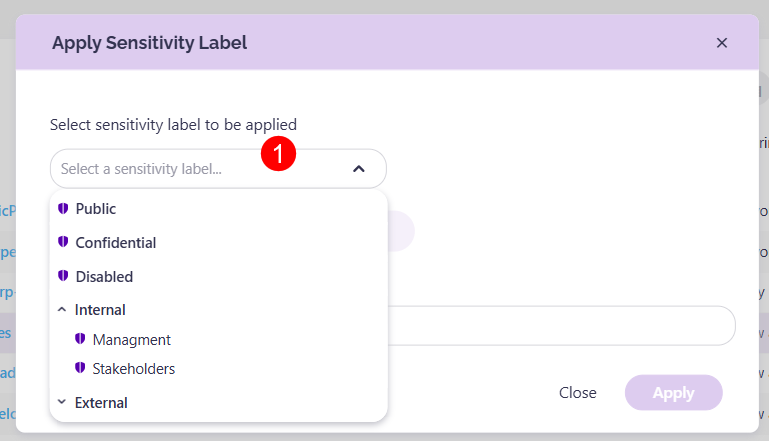
Clicking Apply Sensitivity Label opens the Apply Sensitivity Label modal.
To apply a sensitivity label to the workspace:
- Select the sensitivity label (1) you want to apply to the workspace.
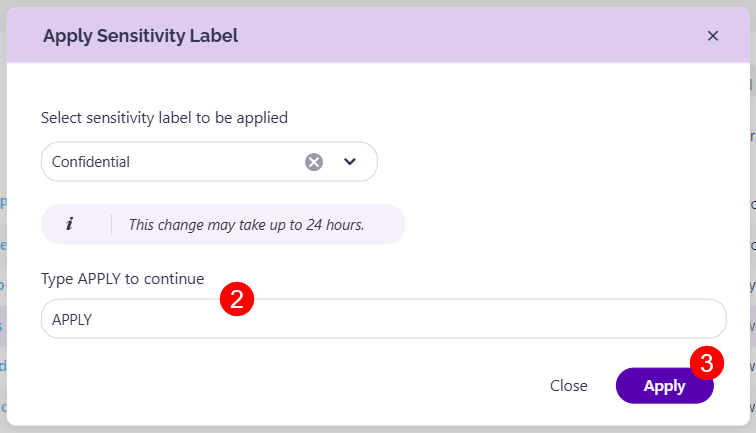
- Type APPLY (2) in the designated field.
- Click Apply Sensitivity Label (3) to confirm.
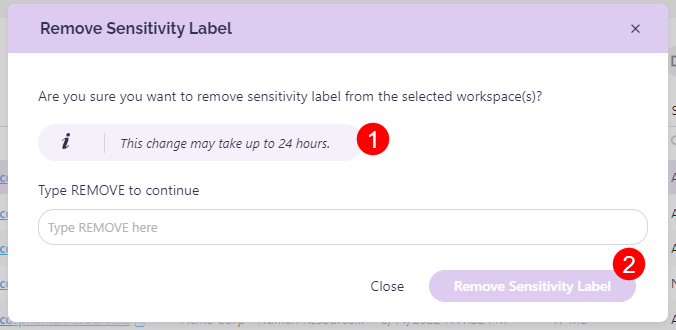
Clicking Remove Sensitivity Label opens the Remove Sensitivity Label modal.
- To remove the sensitivity label, type REMOVE (1) in the designated field.
- Click Remove Sensitivity Label (2) to confirm.
warning
Please note the following:
- Sensitivity label changes can take up to 24 hours to apply to all apps and services.
- In some situations, Microsoft creates two event logs: one in SharePoint and one in Azure Active Directory.
- When a sensitivity label is not updated via the SharePoint Admin Center, Microsoft does not create a site log for the sensitivity label change, only a log for the associated group.